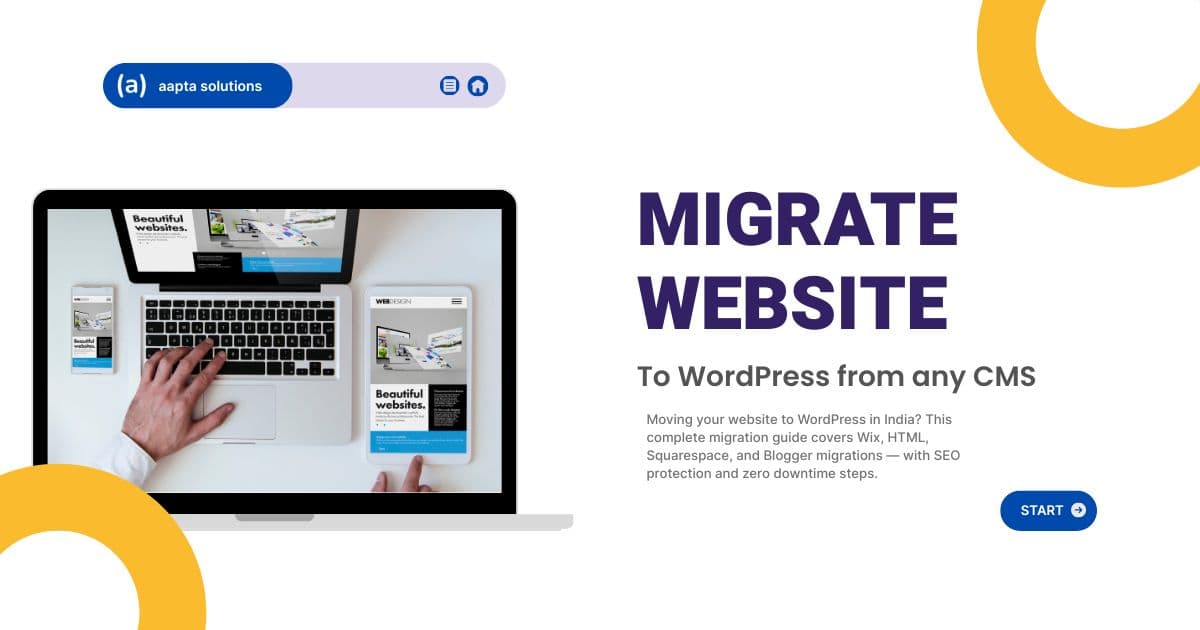
Thousands of Indian businesses move their websites to WordPress every month. Some are escaping Wix's platform limitations. Others are retiring a static HTML site built years ago. Some are migrating from Blogger or Joomla as their business grows. All of them share one concern: how do I make this transition without losing my existing Google rankings?
The fear is valid. A poorly executed website migration is one of the fastest ways to destroy years of accumulated SEO — redirects misconfigured, Google Search Console errors multiplying, organic traffic halving overnight.
The good news: a well-planned migration to WordPress protects your rankings, and in most cases, improves them over the following months. This guide gives you that well-planned approach, step by step, tailored for Indian businesses.
Migration timeline expectation — A complete website migration to WordPress typically takes 2–6 weeks for a business site. This is not a process to rush. Each phase exists for a good reason, and skipping steps — particularly the SEO preservation steps — has real consequences for your search visibility.
| 43% Of all websites globally run on WordPress | 2–6 Weeks for a professional migration | 301 Redirects are non-negotiable for SEO | 0 Days of downtime with proper planning |
|---|
Table of Contents
Why Indian Businesses Migrate to WordPress
Migration Types — What Are You Moving From?
Phase 1: Pre-Migration Audit (Week 1)
Phase 2: Set Up New WordPress Site (Week 1–2)
Phase 3: Content Migration
Phase 4: Design and Functionality Setup
Phase 5: SEO Preservation — The Most Critical Phase
Phase 6: Testing Before Launch
Phase 7: Launch and Post-Launch Monitoring
Common Migration Mistakes That Kill SEO
Frequently Asked Questions
1. Why Indian Businesses Migrate to WordPress
The most common migration scenarios we handle for Indian businesses:
| From Wix | Hit platform limitations (URL structure, advanced SEO, custom code, export restrictions). Moving to WordPress for greater control and SEO potential. |
|---|---|
| From HTML/CSS | Static websites built years ago need a CMS for easy content updates, a blog for SEO content, and modern responsive design. |
| From Blogger | Indian bloggers and small business owners moving from Google's Blogger platform to self-hosted WordPress for full control and monetisation options. |
| From Squarespace | Similar to Wix — platform limitations, higher ongoing cost, and SEO ceiling create motivation to move to WordPress. |
| From Joomla | Older Indian businesses moving from Joomla as the platform declines in popularity and developer support becomes scarce. |
| From Magento | Small to medium Indian e-commerce moving from Magento (too complex, expensive) to WooCommerce. |
| From Shopify | Indian stores avoiding transaction fees and gaining full ownership by moving to WooCommerce. |
2. Migration Types
Your migration approach depends on what you're moving from:
| Migration Type | Complexity | SEO Risk | Content Transfer Method |
|---|---|---|---|
| Wix → WordPress | Medium | Medium (URL structure changes) | Manual or plugin-assisted export |
| HTML → WordPress | Medium | Low–Medium (structured properly) | Manual content entry or copy-paste |
| Blogger → WordPress | Low | Low (built-in redirect tools) | WordPress Blogger importer tool |
| Squarespace → WordPress | Medium | Medium (URL structure differences) | XML export + manual cleanup |
| Joomla → WordPress | High | High (significant structure changes) | Migration plugins + manual cleanup |
| Magento → WooCommerce | High | High | Dedicated migration tools |
Phase 1: Pre-Migration Audit (Week 1)
Never start a migration without completing this audit. The information gathered here informs every subsequent decision.
Step 1: Crawl Your Existing Website
Use Screaming Frog (free for up to 500 URLs) to crawl your current website. Export the full list of URLs. This is your master reference document for setting up 301 redirects later. Document:
Every page URL currently indexed by Google
Current meta titles and meta descriptions (export from Screaming Frog)
H1 headings on every page
Internal link structure
Images (URLs and alt text)
Step 2: Export Google Search Console Data
In Google Search Console, go to Performance > Pages. Export all pages that receive organic search traffic. This is your priority list — these are the pages that must be preserved and redirected correctly. Any page that ranks for keywords and receives traffic is a page that, if its URL changes without a redirect, will lose that traffic.
Step 3: Note Your Top 10 Keywords
In Google Search Console > Performance > Queries, export your top keywords by impressions and clicks. After migration, you'll monitor these keywords to ensure no ranking loss.
Step 4: Backup Your Current Site
Before touching anything: take a complete backup of your existing site. For static HTML sites, download all files via FTP. For Wix/Squarespace, export everything available through their export tools. For CMS-based sites, use the platform's export function plus a database backup.
Phase 2: Set Up New WordPress Site
Always build your new WordPress site in a staging environment — a separate location where the new site lives during development, completely hidden from Google and regular visitors. Never build a replacement website on top of your live site while it's still receiving traffic.
Setting Up a Staging Environment
Option A: Build on a temporary subdomain (e.g. staging.yourdomain.in) — add a password protection plugin so Google can't index it
Option B: Build on a fresh local environment (LocalWP is free and excellent) and push to production when ready
Option C: Use your hosting provider's staging feature (Cloudways, WP Engine, SiteGround all have one-click staging)
Install WordPress and Configure Essentials
**Install WordPress: **Most Indian hosting providers (cPanel-based) offer a one-click WordPress installer under Softaculous. Install WordPress in your staging environment.
**Install your SEO plugin: **Install and configure RankMath before doing anything else. Connect it to Google Search Console.
**Set permalink structure: **Settings > Permalinks > Post name. This must be set before any content is added.
**Install your theme: **Install Astra or GeneratePress. Do NOT import the starter template yet — just activate the theme and configure basic settings.
**Block search engine indexing: **Settings > Reading > 'Discourage search engines from indexing this site' — CHECK THIS during development. Uncheck only on launch day.
Phase 3: Content Migration
How you migrate content depends on your source platform:
From Wix
Wix does not provide a direct WordPress export. The migration process is largely manual:
**Export Wix blog posts: **If you have a Wix blog, use the Wix > Settings > Export option to download a CSV of blog content. Use the WP All Import plugin to batch-import blog posts.
**Pages: **Must be manually recreated in WordPress. For a 10-page site, this typically takes 1–2 days. Copy the content, not the HTML code.
**Images: **Download all images from Wix. Re-upload to WordPress Media Library. Re-compress for optimal file size before uploading.
**Forms: **Recreate contact forms using Contact Form 7 or WPForms.
From Blogger
The easiest migration. WordPress has a built-in Blogger importer:
**Export from Blogger: **Blogger Dashboard > Settings > Export > Download blog XML file.
**Import in WordPress: **WordPress Dashboard > Tools > Import > Blogger > Import the XML file. This imports all posts, comments, images, and creates author mappings.
**Clean up: **Review imported posts for formatting issues. Check all images loaded correctly.
From HTML/Static Website
The cleanest migration type in terms of SEO. Since HTML sites typically have very simple URL structures, redirects are straightforward:
**Create the same pages in WordPress: **For each page on your HTML site (about.html, contact.html, services.html), create the equivalent WordPress page. Copy and reformat the content.
**Match content quality: **This is an opportunity to improve content, not just copy it. Expand thin pages to 600+ words where relevant.
**Set up redirects: **about.html → /about/, services.html → /services/. Use RankMath's redirect module or the Redirection plugin.
Phase 4: Design and Functionality Setup
Configure your WordPress theme to match (or improve upon) your existing design. Use Astra's Customiser or Elementor page builder.
Recreate your navigation menu with the same structure.
Set up your header (logo, contact info, phone number) and footer (links, address, social media).
Install and configure essential plugins: contact forms, WhatsApp chat, social media sharing, Google Analytics (Site Kit).
Ensure your site looks correct on mobile — test on an actual phone, not just a browser's mobile simulator.
Phase 5: SEO Preservation — The Most Critical Phase
This is where migrations succeed or fail. Every SEO element from your old site must be preserved or improved in the new WordPress site.
Step 1: Set Up 301 Redirects for Every Changed URL
A 301 redirect tells Google and browsers that a page has permanently moved to a new URL. It transfers approximately 90–99% of the 'link equity' (ranking power) from the old URL to the new one.
For every URL that changes during migration, you must create a 301 redirect. Use the Redirection plugin (free, 2M+ installs) or RankMath's redirect module:
Old URL: yourdomain.com/about-us.html → New URL: yourdomain.com/about/
Old URL: yourdomain.com/services/web-design → New URL: yourdomain.com/web-design-services/
If your new URL structure is the same as the old (e.g. both use /services/web-design/), no redirect is needed for that page.
Step 2: Migrate All Meta Titles and Descriptions
Open your Screaming Frog export from Phase 1. For every page, copy the existing meta title and meta description into the corresponding WordPress page's RankMath fields. Only update them if the original was poorly optimised — maintaining existing, effective titles preserves your current rankings for those titles.
Step 3: Verify Canonical Tags
After migration, check that RankMath has set the correct canonical URL for every page (the HTTPS www or non-www version, consistent across all pages). Conflicting canonicals can cause duplicate content issues.
Step 4: Update Your Sitemap and Robots.txt
After launch, your XML sitemap (yourdomain.com/sitemap_index.xml) will reflect your new WordPress URL structure. Submit this updated sitemap to Google Search Console immediately on launch day.
Step 5: Update All Internal Links
Use the Better Search Replace plugin to find all occurrences of your old domain or URL patterns in the WordPress database and replace them with the new URLs. This fixes all internal links in one operation.
Phase 6: Testing Before Launch
Your new WordPress site should pass all these tests before going live:
| Test | Tool / Method | Pass Criteria |
|---|---|---|
| All 301 redirects work | Screaming Frog or redirect checker tool | Every old URL returns 301 status to correct new URL |
| No 404 errors | Screaming Frog crawl of new site | Zero 404 errors on live pages |
| PageSpeed score | pagespeed.web.dev | Mobile score 70+, Desktop 85+ |
| Mobile responsiveness | Actual smartphone test | No horizontal scroll, readable text, working CTAs |
| Forms working | Manual submission test | Notification email received within 2 minutes |
| Contact/phone links | Click on phone number on mobile | Initiates phone call |
| SSL active | Browser padlock check | HTTPS showing, no 'Not Secure' warnings |
| SEO titles migrated | View source on 5 key pages | Correct title tags in |
| Search engines blocked | Settings > Reading | 'Discourage search engines' still checked before launch |
| Google Analytics tracking | Real-time GA4 report during test visit | Your visit shows in real-time report |
Phase 7: Launch and Post-Launch Monitoring
Launch Day Checklist
**Uncheck 'Discourage search engines': **Settings > Reading. This is the single most important launch action.
**Submit sitemap to Google Search Console: **Add your new sitemap URL and request indexing.
**Submit sitemap to Bing Webmaster Tools: **Bing serves 5–8% of Indian search traffic. Don't neglect it.
**Use URL Inspection tool: **In Google Search Console, use 'URL Inspection > Request Indexing' for your 10 most important pages.
**Monitor Google Search Console: **Check daily for the first 2 weeks for any new crawl errors, 404 spikes, or indexing issues.
**Monitor organic traffic: **In GA4, watch your organic traffic closely for the first 30 days. A small initial dip is normal (Google is re-evaluating the site). Traffic should recover and often improve within 4–8 weeks.
Common Migration Mistakes That Kill SEO
Forgetting to set up 301 redirects: The most common and most damaging mistake. Every changed URL without a redirect is lost SEO value.
Launching with 'discourage search engines' still checked: Your entire site becomes invisible to Google. We've seen this happen to Indian businesses that didn't notice for weeks.
Not migrating meta titles and descriptions: If Google's indexed cache of your pages changes significantly, rankings shift. Preserve existing well-performing meta data.
Using a different domain name for the new WordPress site: Changing domain during migration compounds SEO risk enormously. Migrate the site first, then consider a domain change as a separate project.
Rushing the process: A 2-week migration done properly is infinitely better than a 2-day migration that requires 3 months of SEO recovery.
Not testing on mobile: Your new WordPress theme may look perfect on desktop but have issues on the Samsung or Redmi phones most of your Indian visitors use.
Frequently Asked Questions
Will I lose my Google rankings when I migrate to WordPress? Not if you do the migration correctly. With proper 301 redirects, preserved meta titles and descriptions, and a well-structured WordPress site, your rankings typically stabilise within 4–8 weeks. In most cases, businesses that migrate to well-optimised WordPress sites see their rankings improve within 3–6 months compared to their original platform.
Can I migrate my Wix site to WordPress myself? Basic Wix to WordPress migrations (under 20 pages, no e-commerce) are manageable for technically comfortable business owners. Complex migrations with many pages, a blog with years of posts, or e-commerce require professional assistance to avoid SEO damage. The 301 redirect setup, in particular, requires care and technical confidence.
How much does a professional website migration to WordPress cost in India? Professional website migration services in India typically cost ₹20,000–₹80,000 depending on the size and complexity of the existing site. For a simple 10-page business website: ₹20,000–₹35,000. For a site with a blog and e-commerce: ₹40,000–₹80,000. This includes content migration, redirect setup, SEO preservation, and post-launch monitoring.
Do I need to notify Google when I migrate to WordPress? Not explicitly — but you should update Google Search Console with your new sitemap and use the URL Inspection tool to request re-indexing of your most important pages. If you're also changing your domain name during migration, Google Search Console has a 'Change of Address' tool you should use. Do not delete your old Search Console property — maintain it for 3–6 months to monitor for any residual 404 errors.
How long does it take to recover traffic after migrating to WordPress? For a migration with proper redirects and SEO preservation, initial traffic recovery takes 2–6 weeks. Full ranking stabilisation typically occurs within 2–3 months. Sites that migrate to faster, better-optimised WordPress setups often exceed their pre-migration traffic within 3–6 months as Google rewards the improved technical quality.
Planning to Migrate Your Website to WordPress? — Aapta Solutions handles complete WordPress migrations for Indian businesses — including content transfer, 301 redirects, SEO preservation, and a guaranteed zero-downtime launch. We've migrated 200+ websites without any ranking loss. 👉 Get a Free Migration Consultation → aapta.in/wordpress-website-design/
About the author
Dharmendra Asimi is the founder of Aapta Solutions, established in 2007 and now serving SMBs and growing brands across India, the United States, and the United Kingdom. Over the past twenty years he has shipped WordPress builds, e-commerce stores, managed cloud hosting, and SEO programmes for hundreds of businesses (from single-product Shopify stores to multi-region WordPress estates handling Black Friday peaks).
He is the creator of Aapta GEO (a free 30-second AI-readiness scan) and Aapta SEO AI (a monthly tracker for how ChatGPT, Claude, Perplexity, and Gemini cite your content). His writing on web engineering and AI-search visibility is read by founders, marketing teams, and SEO managers across three time zones.
Areas of expertise: WordPress development at scale · managed cloud hosting (AWS, GCP, Azure, Cloudflare) · technical SEO · Generative Engine Optimization (GEO) · AI-search citation tracking · ecommerce architecture across WooCommerce, SureCart, Shopify, and Magento · Site Reliability Engineering for content platforms · brand strategy and visual identity.
Connect: LinkedIn · X · Instagram · personal site · About page · Contact Aapta
This article is maintained as part of Aapta's content quality programme. If any data point looks stale or incorrect next time you read this, tell us and we will verify and update within 48 hours.
Need help with this?
Our team has 19+ years of experience and can help you implement everything discussed in this article.
Book a Discovery Call